A clear phone photo is enough to start converting a printed page into editable text. Local Image to Text reads the image in your browser and produces text you can copy, correct, or download. The selected document is not uploaded for recognition.
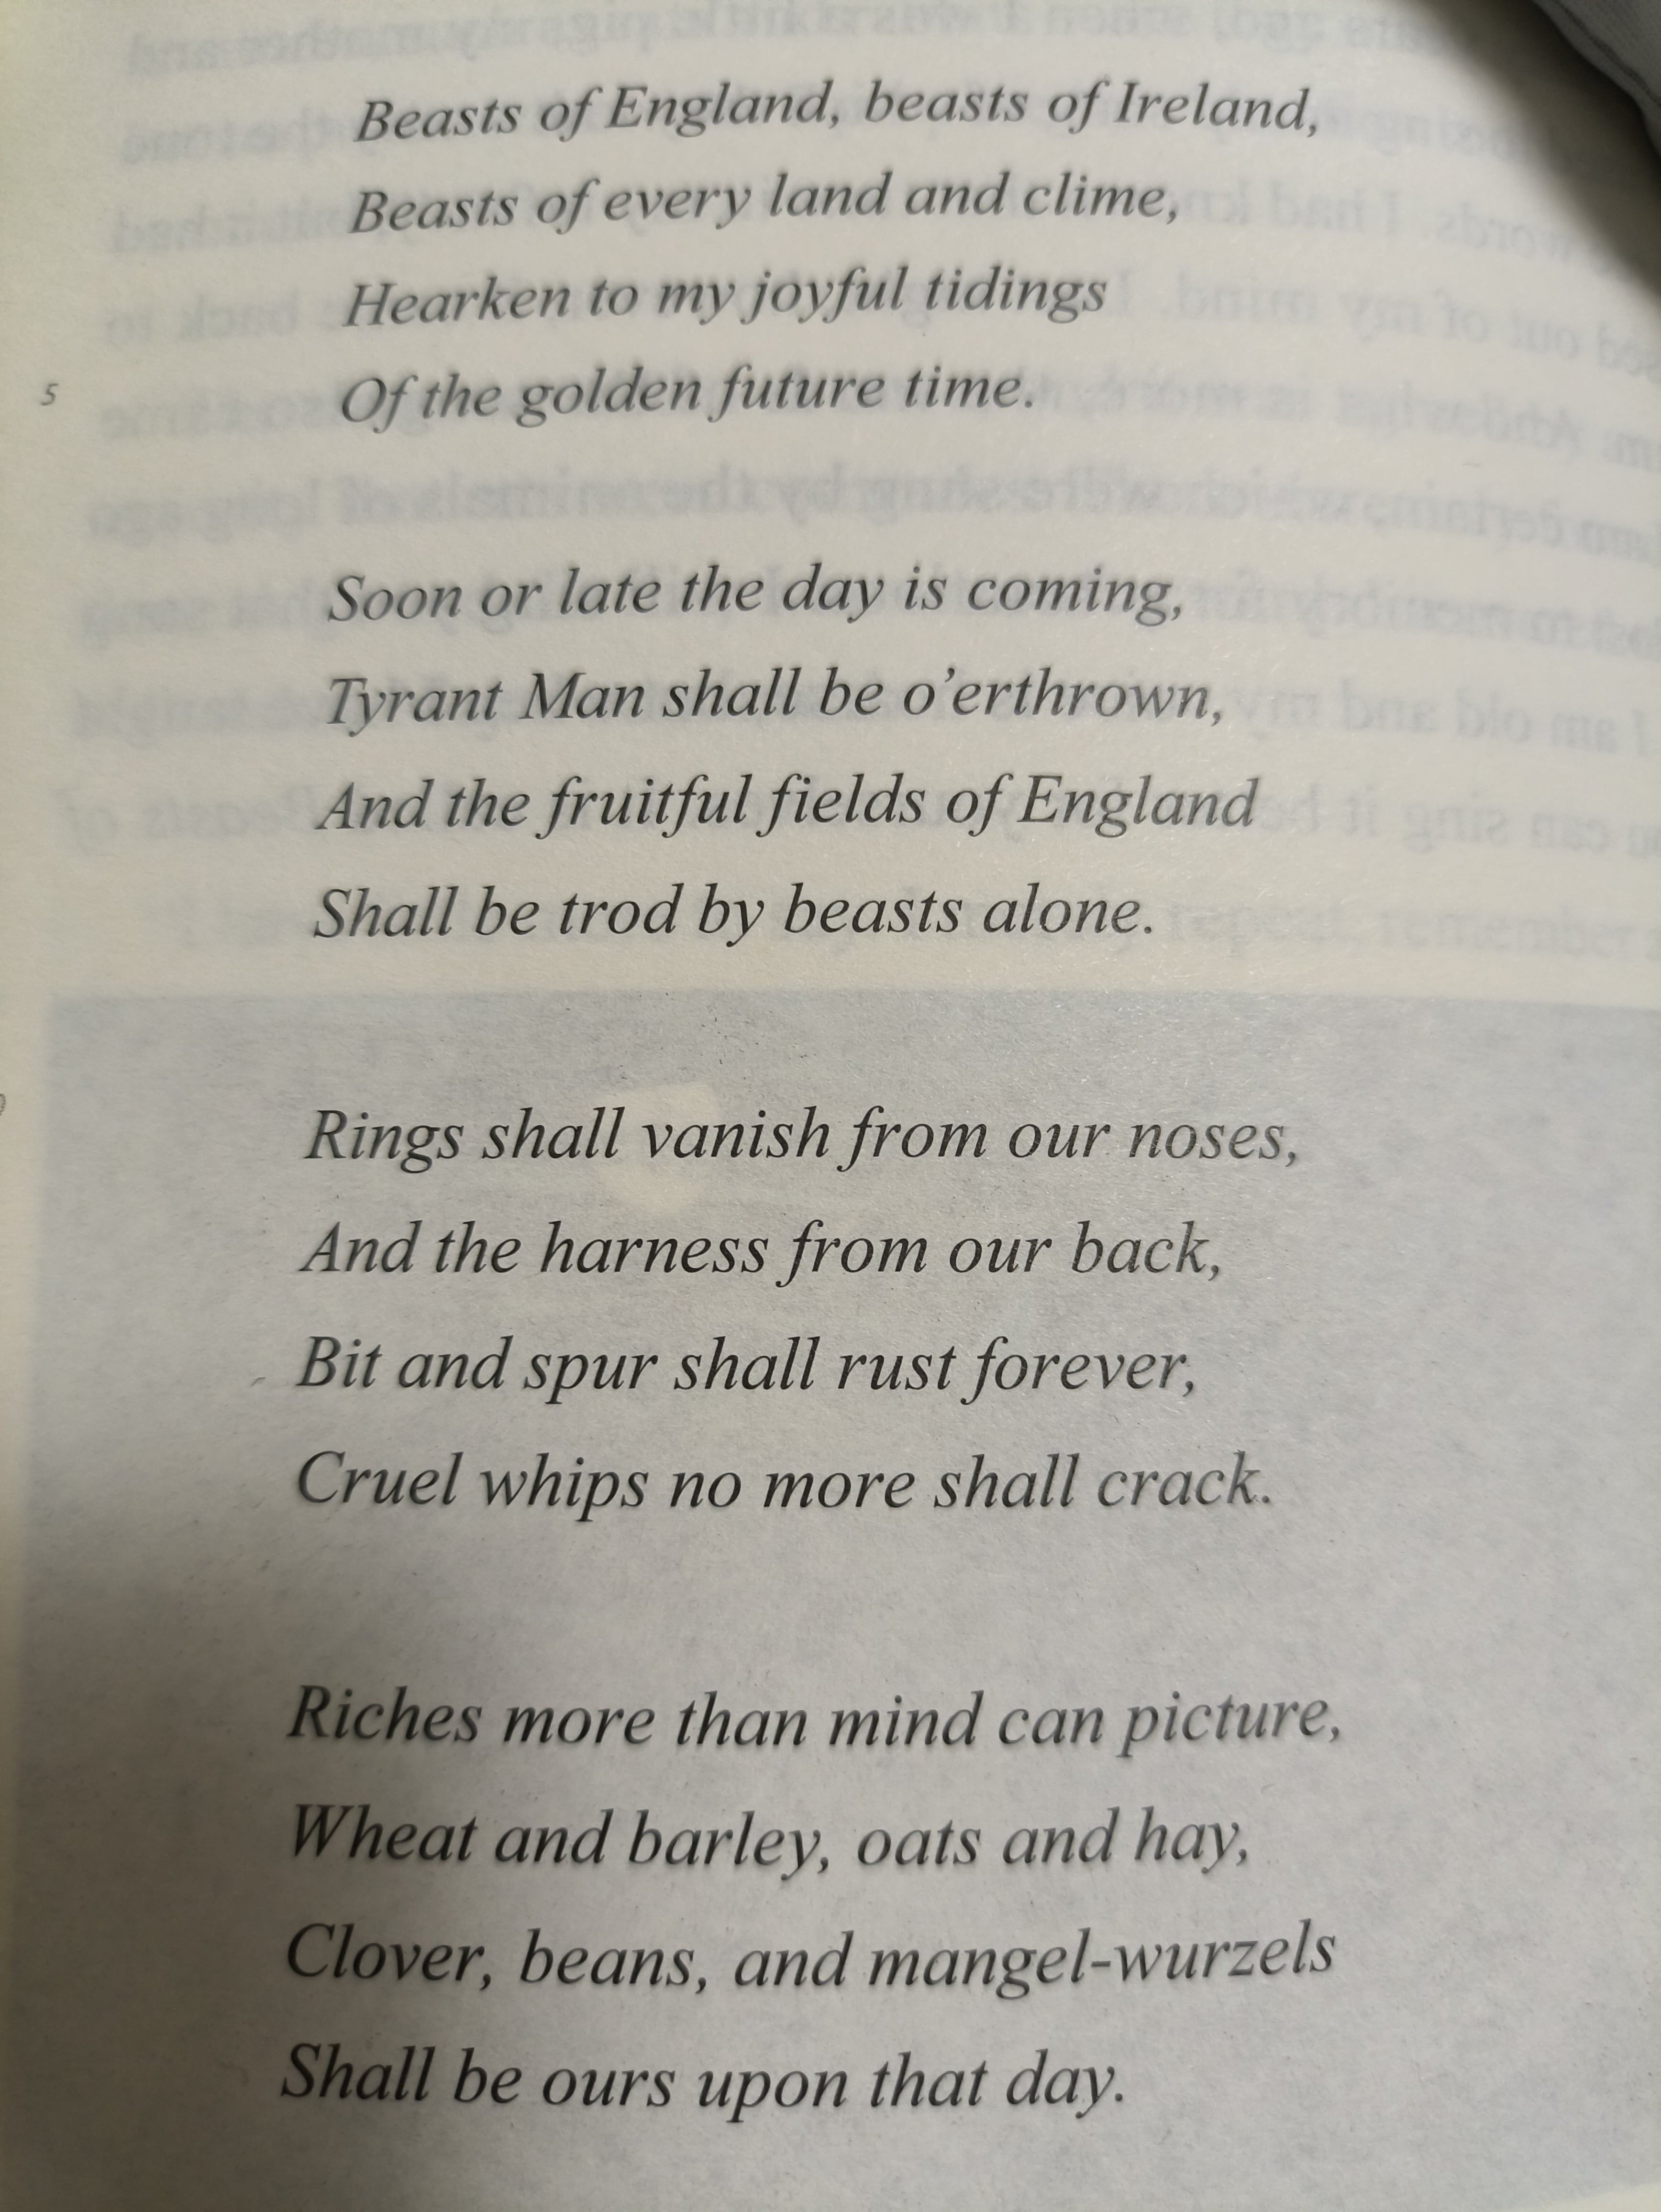
This guide uses a photo of one book page. The aim is to preserve its wording and paragraphs. The result will not reproduce the book's fonts, illustrations, or exact page layout.
1. Take a readable photo
Place the book under even lighting and keep the page as flat as the binding allows. Hold your phone directly above it, parallel to the paper. Include one page with a small margin around the writing.
Tap the text to focus, hold still, and take the photo. Then zoom in on the smallest print, especially footnotes and words near the spine. Retake the photo if those details are blurred or hidden by shadows. A sharp heading does not guarantee readable body text.
Keep the original-resolution file. Messaging apps may compress images, making punctuation and small letters harder to recognize. Photograph additional pages separately so you can check and name each result.
2. Use a scanning app if helpful
A phone's document-scanning mode can crop the page and straighten perspective. A normal camera photo also works.
On iPhone, use Scan Documents in Notes or Files. Follow Apple's scanning instructions for the controls. Check the saved format: this workflow needs an image. If the scan is a PDF, export its page as PNG or JPEG with a suitable converter, or use a camera photo.
On Android, a camera scanning mode may be available. Google Drive also offers scanning: capture the page, adjust Crop & Rotate, and choose JPG output when saving. See Google's Android scanning instructions.
Saving through Drive stores the scan in Google Drive. Your phone may also sync photos or notes. The local privacy claim here covers recognition on this website, not those separate storage services.
3. Crop and select the image
Remove the desk, facing page, and large empty margins. Keep the complete heading, body text, and any footnotes you need. The Image Cropper can isolate a rectangular page region.
Open Local Image to Text and select or drop the image. Recognition starts after a valid file is selected. PNG or JPEG is a straightforward choice; follow the size limit displayed beside the input, currently 10 MB.
If the browser cannot read the file, export a standard PNG or JPEG and retry. Renaming a file from .pdf to .jpg does not convert it.
4. Let the first setup finish
The first attempt may download OCR model and runtime files before processing begins. Keep the tab open while it works. Those downloads provide recognition software; they do not upload your selected page.
Later attempts may reuse cached files, but each image still needs processing. If the page reports an error, read the message before retrying. A file error and a failed model download need different fixes.
5. Check the wording
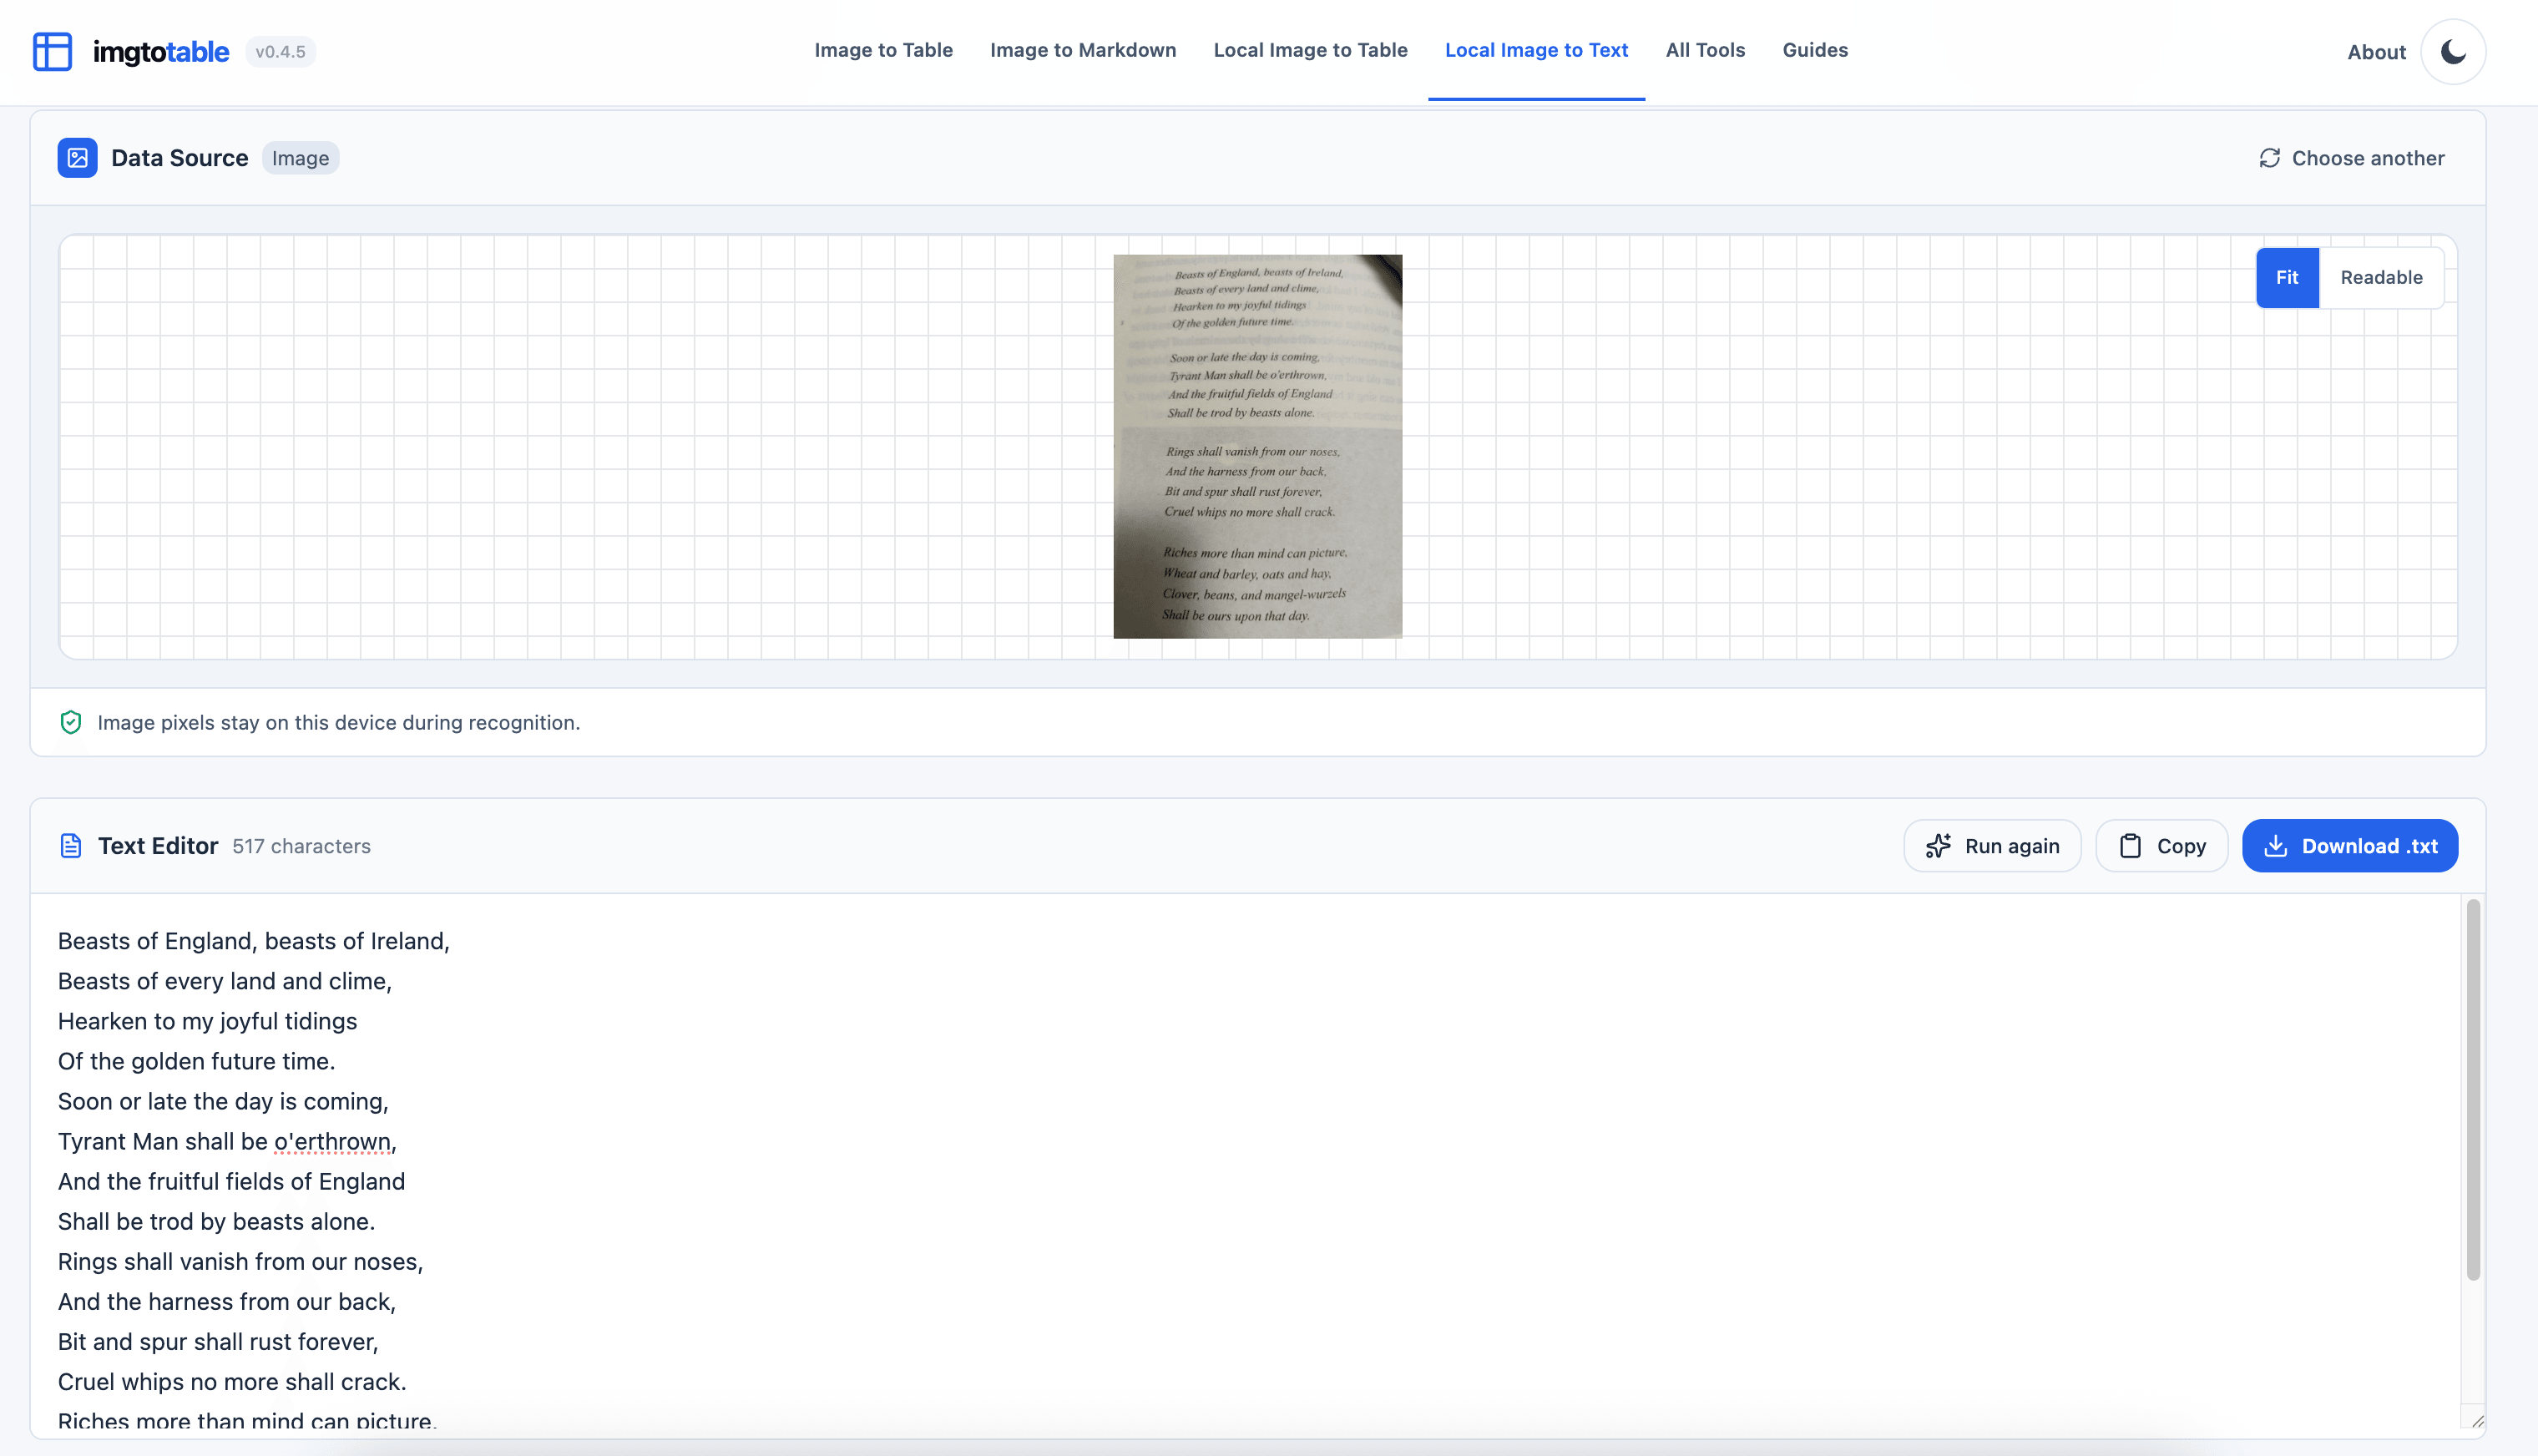
Read the result against the page, then check details that a quick reading can miss:
| Detail | What to inspect |
|---|---|
| Names | Initials, spelling, and apostrophes |
| Dates and numbers | Digits, separators, and decimal points |
| Punctuation | Quotes, commas, dashes, and brackets |
| Footnotes | Both the marker and its matching note |
| Short words | Missing words such as “not” or “only” |
For example, 1901 should not become 19O1. If a character remains unclear, mark it in a separate review note rather than guessing. Keep handwritten margin notes separate from the printed text.
6. Restore paragraphs and save
OCR may insert a break at every printed line ending. Join lines that belong to one paragraph, while keeping headings, lists, addresses, and footnotes separate.
Check words split across lines. Join “infor-” and “mation” when the source splits one word, but retain real compound hyphens such as “follow-up.” Do not remove every hyphen or line break automatically.
Use Copy or Download .txt, then open the saved result to check its text and spacing. If copying fails, select the text manually and use your normal copy command. Name the file clearly, such as book-page-042.txt, and keep the source photo beside it.
For more detail on local recognition, see how browser-based OCR works. If you need editable headings and tables in a DOCX file, Image to Word offers structured conversion with a server-side recognition step.
For a longer book excerpt, keep a simple page checklist. Finish, check, and save one page before loading the next. When joining the text later, read across page boundaries to catch duplicated headers, missing sentences, or a word split between pages.