When you save important information as a static screenshot, that text becomes locked inside visual pixels. You cannot search the wording, copy paragraphs into your personal note-taking apps like Notion or Obsidian, or edit code snippets in VS Code. Retyping documents by hand is slow and introduces typos.
Our Image to Markdown tool extracts text from document screenshots and reconstructs it into clean, structured Markdown. Instead of a wall of plain unformatted text, you get semantic headers (#, ##), formatted bullet lists (-), code blocks (```), and Markdown tables ready for immediate reuse in your daily workflow.
Why Convert Document Screenshots to Markdown?
Using plain-text Markdown for document notes offers major practical benefits over storing static PNG or JPG screenshots:
- Universal Searchability: Full-text search across your personal notes, Obsidian vaults, or Notion databases.
- Minimal File Footprint: A 5 KB Markdown text file replaces a 2 MB high-resolution image screenshot.
- Git Version Control: Track document revisions line by line in GitHub or GitLab repositories.
- Cross-Platform Compatibility: Native rendering across technical documentation sites, static generators, and team wikis.
Step 1: Prepare Your Document Screenshot
For clean, accurate Markdown OCR results:
- Capture high-contrast images: Ensure black or dark gray text appears clearly against a light background.
- Include full structural context: Crop the main document area including section titles, list bullet points, and table borders.
- Exclude screen clutter: Trim away desktop taskbars, browser toolbars, or floating web chat popups.
Tip: Server endpoints accept PNG, JPEG, WebP, GIF, and BMP images up to 5 MiB with maximum dimensions of 8192 × 8192 pixels. Animated images use the first frame.
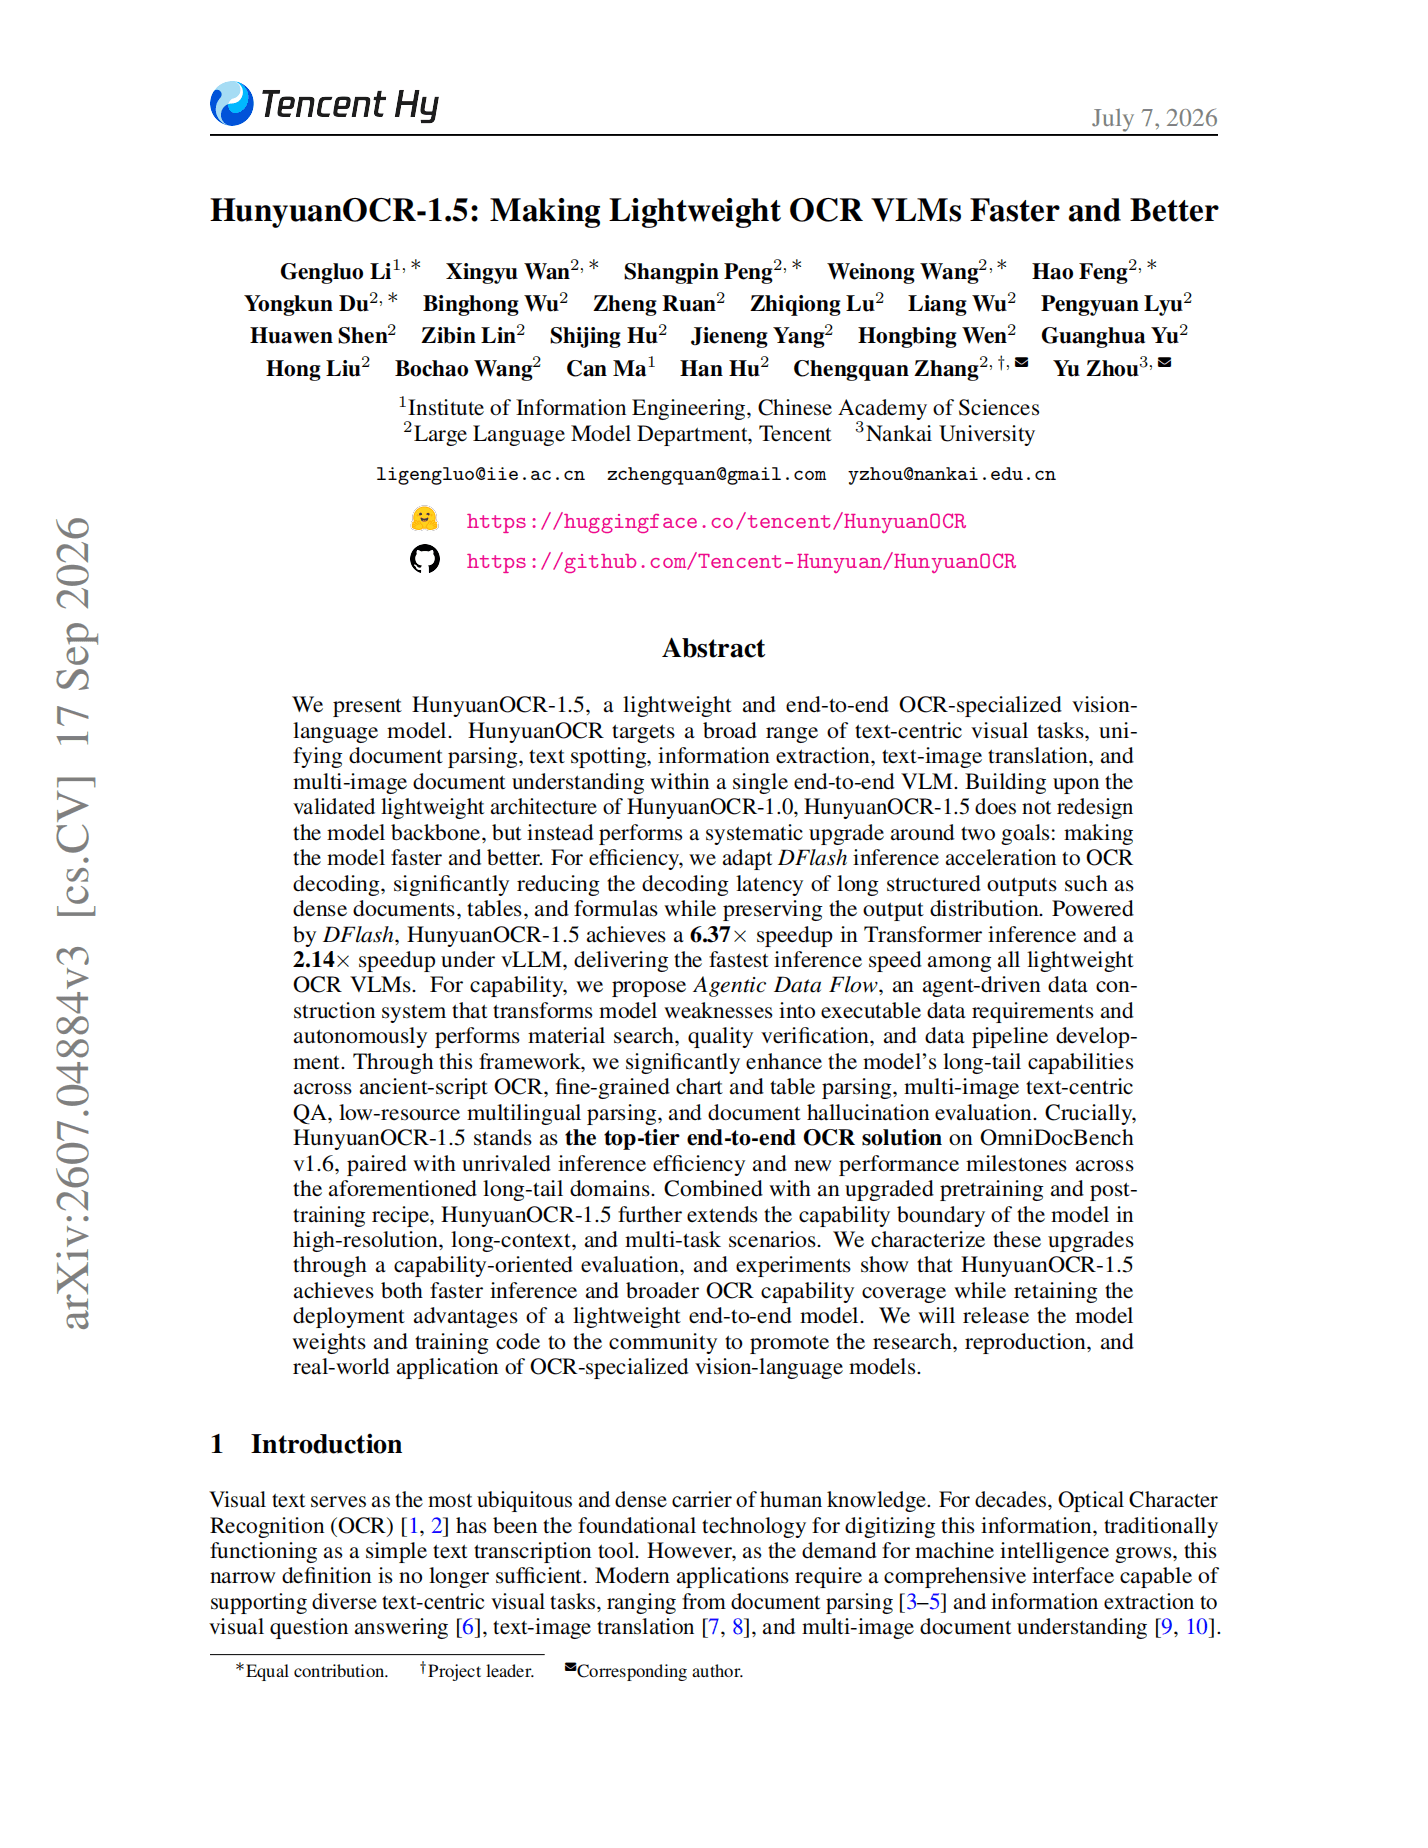
The example image below includes a large title, first-level headings, bold text, and other formatting. Try converting it to Markdown to see how these elements appear in the recognized output.
Step 2: Extract Formatted Markdown Text
- Open Image to Markdown in your web browser.
- Drag and drop your document screenshot into the upload zone.
- Our server-side vision AI engine parses the text content and structural elements.
- Within seconds, your recognized Markdown source code appears alongside a side-by-side rendered preview.
If you are working with private or confidential documents that must not leave your device, use our Local Image to Text tool instead, which runs browser-local OCR without uploading image files to any server.
Step 3: Review and Polish Your Markdown Hierarchy
Spend 60 seconds reviewing your generated Markdown text before saving:
1. Fix Technical Wording and Names
Compare key technical terms, dates, SKUs, and proper nouns against the original screenshot. Confirm that short critical words (like not, only, or before) are transcribed accurately.
2. Verify Heading Levels
Ensure main page titles start with # Heading 1, major sub-sections use ## Heading 2, and sub-topics use ### Heading 3. Consistent heading hierarchy keeps your document navigation outline clean in Obsidian or Notion.
3. Check Bullet and Numbered Lists
Confirm that nested sub-bullets are indented by two spaces ( - Sub-item). If a single paragraph sentence split across two lines was misread as a bullet item, join the text into one continuous sentence.
4. Format Inline Code and Code Blocks
Enclose technical package names, file paths, or terminal commands in single backticks `command`. For multi-line code examples, wrap the block in triple backticks:
```python
def process_document(image_path):
    # Extracted code snippet
    return parse_markdown(image_path)
```
5. Validate Markdown Tables
Verify that table headers and data rows use pipe separators (|).